Wednesday, June 16, 2010

Handmade Flowers

So, last week, I went on vacation and cut bunches and bunches of flower layers to take with me to assemble flowers.  Well, then I saw a Michaels (don't have one near me) and I stopped and bought a bunch of pretty paint colors.  So, instead of assembling flowers in my free time on vacation, I ended up painting the flower layers.  I've been trying some new tutorials on making flowers - no, none of them are my own creation - and I wanted to share with you what I've come up with so far.  I found several videos on you tube that I will share also.   The far right flower on the top I don't have an individual picture of, but this is the flower that got me hooked on making all the other flowers.  The tutorial is by Laura at Follow the Paper Trail.

Below, the farthest left flower is called a Belle Arte Auarius and the link will take you to the you tube video.  The other 2 flowers are the paper roses that you can find tutorials for all over, but all three of these flowers have diamond dust on them.
In the next picture, are some paper roses and a Camelot Rose (top middle).  All of these I just sprinkled regular glitter on.

In the next picture is a paper rose that I brushed pearl ex pigment powder on.  Gives it a pretty shimmer.

In the next picture, I painted the completed flower with a pearl effect glaze.  The top flower was kind of following a youtube tutorial you can find here.   It's nothing like the tutorial really, but that is what gave me the idea.  The bottom is just my own creation, putting a paper rose on top of a couple of flower layers.  I love the pearl paint though, think it gives it a pretty look.


In the last picture, these are my expirements using a Melt Art melting pot, UTEE pearl, and some Pearl Ex powder.  I love the idea of using this stuff, but I definitely don't have the "trick" learned yet.  These are both just paper roses that when finished I dipped into the melted UTEE.  I did realize that you should dip before the flower is finished, but even individual layers came out too thick, so will have to watch some videos to learn more.


So, there you have it, all my latest flower creations, and I will be making more and more!  These are so much fun!  I am going to be selling some at my Etsy store eventually.

Sunday, May 23, 2010

Is it really a small store?

Sooo...I just recently reorganized my scrap space to incorporate the new storage finds that I got from the Movie Gallery closing.  I got a black coated metal rolling rack with lots of different shelves and hooks and baskets that you can interchange and rearrange to fit your needs for $50 and a large 4 tier revolving rack for $10.  I didn't think I would get to use either of these until we were able to start our remodeling project and I moved my office to a different room in the house...but...don't ever tell a determined scrapper they don't have the room to do something...because I made the room!

I posted all these pics over at SB.com, and I have been informed by more than one that I have a small store...and seriously, I just don't think I have very much!  Of course, when I look at other's supplies, I only look at those that have more...I have to justify my buying you know! 

This is the view of the left side of my room when you walk in the door.  I have my sewing & sizzix desk.  Hubby hung a shelf above so I could put my Advantus paper storage up there.  This holds both my PP and CS.  On the desk is my computer of course, a black laser printer and an Epson photo printer and my Silhouette.  On the top of my desk are my in-progress albums.  I currently have 9.  The rest of the stuff on my desk is just for bookkeeping.

This is the right side of my room when viewed from the doorway.  The black rolling rack against the back wall is what I got at the Movie Gallery closing for $50.  I can roll it against the wall when I'm not scrapping to keep the room looking nice and just pull it out when I need to.  Its came with several shelves, baskets, and hooks.  Then you have my 12 X 12 storage drawers mostly bought from Walmart.  My desk and my spinning rack I also got from the Movie Gallery for $10.

This is just a closer view of my scrap space.  My desk I got from my kid's old school.  It was a computer desk and they had gotten new ones, so at the fundraising yard sale they tried to sell them.  When the sale was almost over, the principal said everything would be half price, I asked her if the tables were also.  She asked me what I wanted to give and I said $10 (originally $25) and she agreed.  I snatched up two before the other workers grabbed the other 8.  I had no idea at the time what I would use them for, but one has turned out to be the perfect scrap desk! 

Here's a close up of my rolling cart.  I have all my glimmer mist lined up across the top shelf for easy access.  Then I have all my border punches on one shelf, all my shape punches on the next.  All my glue dots and liquid glue in a basket, my Pebbles chalk sets, Big Bite, and M.S. circle cutter in another basket.  I have my Memento & Colorbox ink & applicators in a basket.  My scrap pieces of paper is in the bottom basket seperated by color in ziploc bags.  The colored plastic boxes have chipboard or paper diecuts in them seperated by theme.

This is one end of the cart.  I couldn't put anything on the other end b/c then it wouldn't fit into the space against the wall.  I have my new sizzix dies hanging, but not sure if they will stay this way...I haven't used them yet.  The white and black binders are my clear stamps, and the pink binder is my sketches and other notes.  The other basket is just 6 X 6 paper pads and mat pads.

This is the backside of my cart.  It has about 8 shelves on it that need to be filled up.  Across the top is my paints, mostly just the cheap ones from Walmart.  I also have my Distress crackle paint up here, which I still am not sure whether I want to keep or not.

These are my 12 X 12 drawers that hold a variety of things.  There are several drawers for flowers seperated by color along with the brads and eyelets of that same color.  I have a couple of drawers for Christmas paper.  A few drawers are embellishments seperated by theme - baby/boy/girl/birthday.  The shoebox on top is my ribbon I haven't yet organized.  Going to put it in jars by color and put it on the back of my rolling cart.

The left side of my desk.  I took a 39 drawer unit and spray painted it, then lined the front of the drawers with BG CS.  I seperated all my chipboard letters and put them in here.  My stickles hang by velco on a piece of plexiglass.  I don't keep them upside down anymore b/c I found that the stickles were drying in the tip and it was hard to get it unclogged.  The ink pad shelf my wonderful dad made for me.  I labeled all my ink pads and then organized them by brand.  I am 3 short of the entire collection of Distress ink pads.  I love the sign on top, it says "Creation is God's artwork....Love is His signature!  I will hang this as soon as hubby gets me some nails.

Right side of my desk.  The pen/pencil holder is a spinning spice rack I got at Walmart for just a couple of dollars.  I took clear plastic cups, cut off the tops (to fit more) and hot glued the bottoms of the cups to the top shelf.  I then seperated my pens, pencils, and paintbrushes into the cups.  On the bottom are my buttons (not many) in little clear holders.  The pegboard is a little empty right now, will probably be buying some more of these shelves to put on here. 

And last but not least is my $10 steal!  It has 4 tiers, each tier having 6 hooks, 3 on each side, and each tier spins independently of the others.  I have packaged embellies seperated by theme - boy/girl/birthday/baby.  I also have all my Prima flowers in their own little section. 

So - there you have it!  My humble scrap space as I like to think of it or my small store as others have accused me!  I will be happy when I'm in a room that I don't have to share with a staircase...but at least I get to have a space of my own and I get to have all these wonderful goodies!  Thanks for looking!

Monday, May 3, 2010

What's the Point?

So...I've been bugging my friends over at sb.com for a while now, wondering why am I wasting my time and money on this hobby when there doesn't seem to be a single person who gives a darn???  They all have come back with some really wonderful responses...but that negativity bug would just not get out of my rear!  HAHA

On NSBD, over at sb.com, the all day challenge was to create a LO about why we scrapbook.  OK...hello...didn't I just say I don't know WHY I do it...and now I have to tell someone why????  Oh...but the minute I read the challenge rules...the idea popped into my head and I just knew what the finished product would be before I even printed my first pic!  The hardest part of this LO was seriously...picking out which pack of PP to use and figuring out how to get more than one piece on this LO.  I love PP...seems like it should be an 11th commandment...thou shalt not use just one piece of PP on a LO.  LOL 

Here it is.

Journaling:


I've sometimes wondered why I even bother to scrapbook. It doesn't ever seem like anyone cares. No one looks at my books unless I push it on them, and no one asks me how I'm doing with it. But once I really started to think about it, I was able to come up with several reasons, and I'm sure if I thought a little more, I'd be able to think of several others.

For Others - I've created several layouts to give as gifts for Christmas and other occasions. The latest one that I did as a gift earned me 3 commissions to create layouts for others.

For Memories - Without the pictures and without the journaling, some memories would be lost forever. I know when my children are grown and I'm all alone, I will look through these albums and laugh and cry over all the memories I've been able to capture.

For Myself - I love this hobby. I love the creativeness I exhibit in each layout that I make. I also have used this hobby as therapy to explain my feelings and thoughts.

For my Children - Right now, they don't show much interest, but I truly hope that someday when they are older, they will appreciate the love and work that I put into each page of them.

For shopping - I love to shop, and what better reason is there than a hobby that requires you to constantly be replenishing your supply. It is almost a challenge in itself for me to search and search for the best deals that I can find on the products that I wish to buy.
 
The LO certainly lacks my usual clusters and oodles and gobs of embellies...but come on...with that much journaling...where was I going to put that stuff!!!  I was very blessed by the wonderful comments that I received from my fellow sb.com neighbors...they sure know how to make a gal feel good!!!

Monday, April 26, 2010

A tribute page to one we love

Good morning peoples!  Its Monday morning and it sure was a crazy busy week last week.  On Wednesday, I got terribly sick with the flu and slept 37 hours in 3 days!  That's more sleep than I've had all year!!!  I'm not totally better today, but definitely better than I was last week! 

As most of you know, my father in law passed away on Friday, April 16.  In March of 2009, he was diagnosed with cancer of the throat and mouth.  The doctors told him they could get rid of it and he underwent chemo and radiation, then in October, he had surgery to get rid of the last little bit.  Well, six weeks later he had 2 tumors again and this time the doctors didn't know what to do.  They tried a couple of different treatments of chemo, but in March, they stopped all treatment since it wasn't helping and called in Hospice.  He was a Vietnam Vet and they think the cancer could've been a result of Agent Orange, so he was sent out with a Military style funeral, a great honor to a wonderful man.  He will be missed terribly!

I did the following LO as a tribute to him and entered it into Estee's Home Sweet Home challenge at scrapbook.com.  My take on what home is, is our eternal home with Jesus Christ our Savior.  He has gone to prepare a place for us.  I can just imagine living in those beautiful mansions and walking on the streets of gold.  I am assured of my father-in-law's salvation, and I know he is up there in his eternal home.  Someday, we will be reunited with him.

I used K & Company Blue Awning patterned paper on this.  I distressed all the edges, inked the larger shaped paper with Walnut Stain Distress Ink.  The bling I created myself and you can find some like it in my Etsy Shop.    The title was cut on my silhouette and I inked both pieces in Walnut Stain, the bottom one very lightly and the top one real dark. 

The paper roses (also in my Etsy shop) I glimmer misted with Tattered Leather, Slate, and Walnut Gold.  The acrylic flower spray came in one of my Swirlydoos Kits back when I subscribed to it.  The 3 other flowers are Prima.
I cut the tag on my silhouette.  The journaling was part of a poem that I found online, auther unknown.  I did the journaling in Microsoft Word.  The bottom tag is glimmer misted with tattered leather, the middle with slate.  I tied 4 different colors of ribbon on to it.

Wednesday, April 21, 2010

Already 12 years old

My latest layout is of my daughter, Shelby, who just turned 12 this year.  On her birthday, Feb 15, her and I went and got highlights put in our hair and a trim.  I took this picture when we got home.  She was so very proud of her hair that day, felt all grown up! 


The paper is Basic Grey Bittersweet.  I cut the heart mat on my silhouette...I love that machine!!  The flowers I just made a little bouquet out of and applied with glue dots to the LO.  I have some of these flowers for sale in my etsy shop.  The ribbon technique I learned from GabrielleP, she does beautiful LOs, you should check out her blog sometime.  I made all of the bling myself, I have some sheets of it for sale at my etsy shop also.  The butterflies along the bottom I inked with two different colors of ink (staz on cherry pink and colorbox).  Then I stickled with Frosted Lace and Black Diamond.  The 2 butterflies on the left I inked with light pink then stickled with glitz ruby slippers.


Thursday, April 15, 2010

Scrap Therapy & My challenge Entry

So...last week, I was dealing with some really negative emotions to some people in my life, and I couldn't figure out a way to get rid of them without totally going off on the people I was upset with.  I was also dealing with the sadness of losing my FIL....so....I decided to try scrap therapy.  I loved it!!!!  I took a plain white 12 X 12 piece of cardstock and I journalled all of my feelings, thoughts, emotions onto it, around and around and around.  Then, I took that white piece of cardboard and I inked it and inked it some more, distressed it, tore it, painted it....just messed it alllll up!!!!  I wanted everyone to be able to see my thoughts and feelings (you can still read bits and pieces, but nothing telling), but not to be able to know them.  Then I took a pic of me, ripped it (so much fun...lol) and stitched it back together.  I used the new BoBunny lines of papers mama-razzi, because I just love them!!!  I put some border punched pieces of CS behind my tears and rips. 

The title letters and the mat for them, I cut on my sil...love that machine.  I made the bling myself, which you can see in an earlier post or visit my etsy shop.  The chipboard hearts and "me" I painted with navy blue and linen paint, the cheap stuff found at Walmart.  I sanded the "me" after painting it.  Then, I added some flowers and roses.

This LO shows what I feel like inside.  There are some rough edges and some rips and tears, but I try as best I can to put myself back together and fill the gaps and holes with as much positive stuff as I can.  The flowers and hearts represent the fact that I try to be kind, I try to be giving and honest. 


I also was able to finish my layout last night for the numbers challenge by Estee over at Scrapbook.com.  I wanted a unique idea rather than a birthday or a school grade.  I was happy with my idea.  This is my sweet little boy, Elias.  He is 1 1/2 here and was copying things Paul was doing when he was remodeling our bathroom.  Paper is by K & Company Hopscotch collection - boy. The ruler, title letters, and bolts I cut on my sil. The title letters I embossed with zing metallic copper. The bolts I embossed with zing metallic pewter. The ruler is inked with Antique Linen and a darker brown piece of paper behind it. The clock is a stamp on transparency embossed with Zing black. The two journal blocks were made in Microsoft Word. The tool diecuts I've had forever and a day...lol.


Tuesday, April 13, 2010

Creature of Bling!

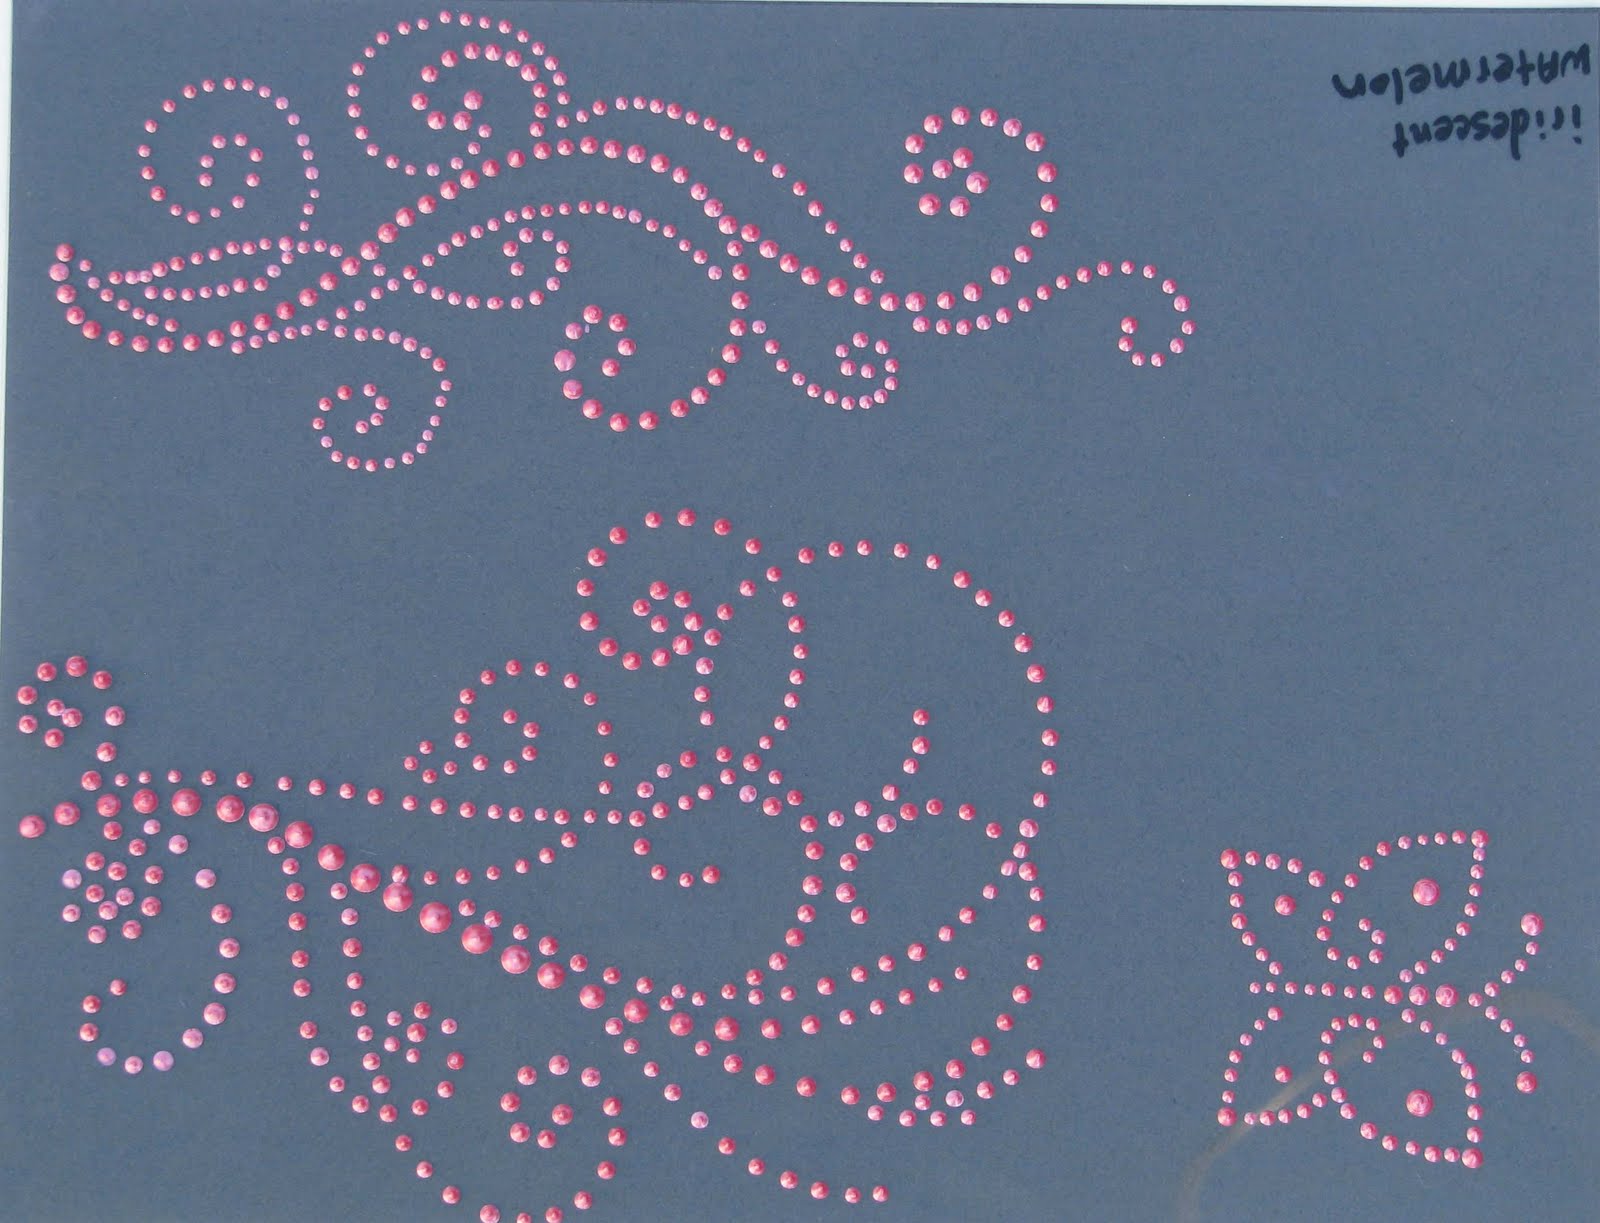
So...I love bling...but I don't love paying $3-$5 for the brand name bling.  As most of you know...I stocked up on liquid pearls and puff paint and entered the world of do it yourself...or myself!  I wanted to show off a few of my latest creations.  A friend of mine who had bought some of...wait...all of my bling that was in my etsy shop asked me to make her some more...we decided to bypass Etsy saving me 20 cents a listing!  Yippee!  Which...will also save her shipping, b/c I won't have to list a shipping price for each one.  She hasn't yet told me which ones of the following she wants...but...if you are interested in some bling of your own...just give me a holler and we can determine how many sheets and what colors!